Just 'Switch'-ed: How to Set Up Your Nintendo Account for Digital Gaming
Buying digital game copies shouldn’t be this complicated!
March 13, 2026 / by JR Carag / 4 mins read

Why do console stores have to be so complicated in the Philippines? I’ve had my share of headaches with the PlayStation Store when trying to purchase a digital game, and now it’s the Nintendo eShop giving me that annoying “Not Available in Your Region” message. It’s an inconvenience that doesn’t make much sense, but unfortunately, it’s the reality we have to deal with.
Since I had to figure things out myself, I know others are likely stuck at the same roadblock. So, if you’re like me and want to enjoy the convenience of digital copies on your Switch but don’t know how to get around the region lock, here’s the step-by-step breakdown. And if you haven’t grabbed a Switch yet, you can snag the Nintendo Switch 2 at the Next Upgrade Shop.
Step 1: Picking the Right Region
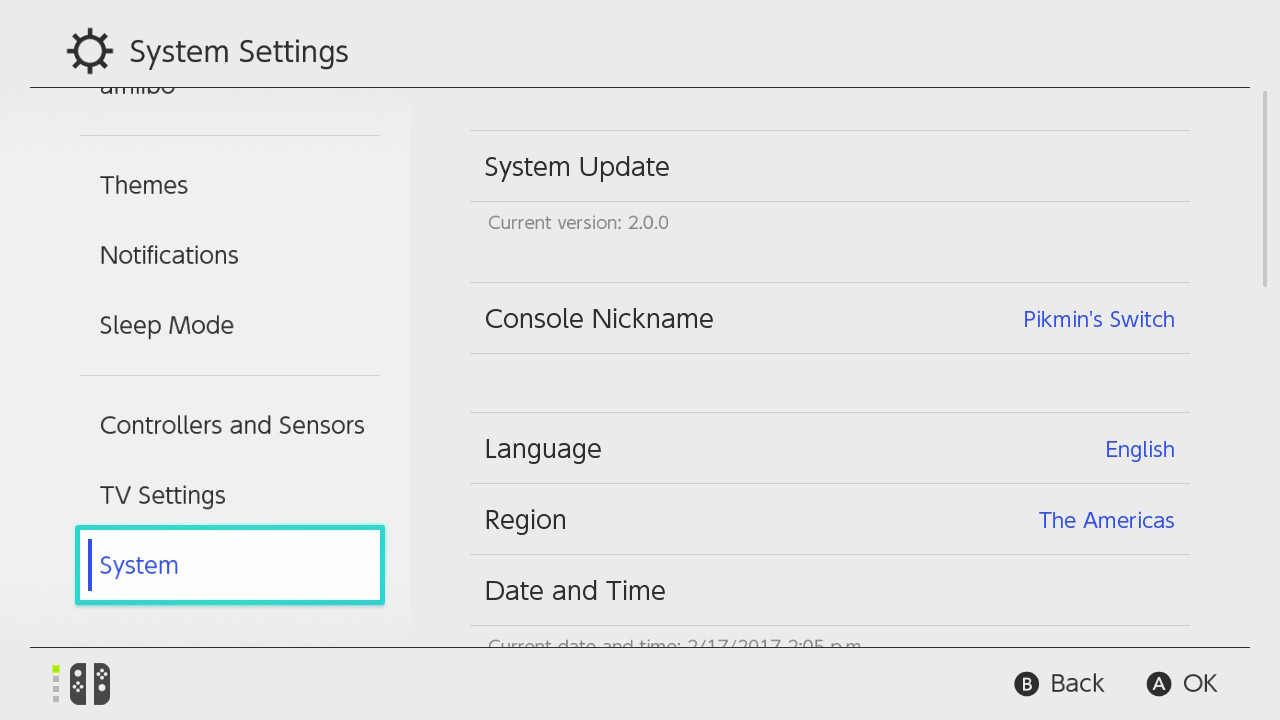
Let’s assume you just unboxed your shiny new Switch. During the initial setup, you’ll be asked to pick a region. While the closest option to the Philippines is ‘Hong Kong/Taiwan/South Korea’, I recommend selecting ‘The Americas’. Why? Because it ensures you’ll have access to an English-friendly eShop with a full library of English game copies. And don’t worry if your Switch’s clock suddenly shows a different time zone—you can adjust it later in System Settings to reflect Philippine time.
Step 2: Creating a Profile
From Nintendo
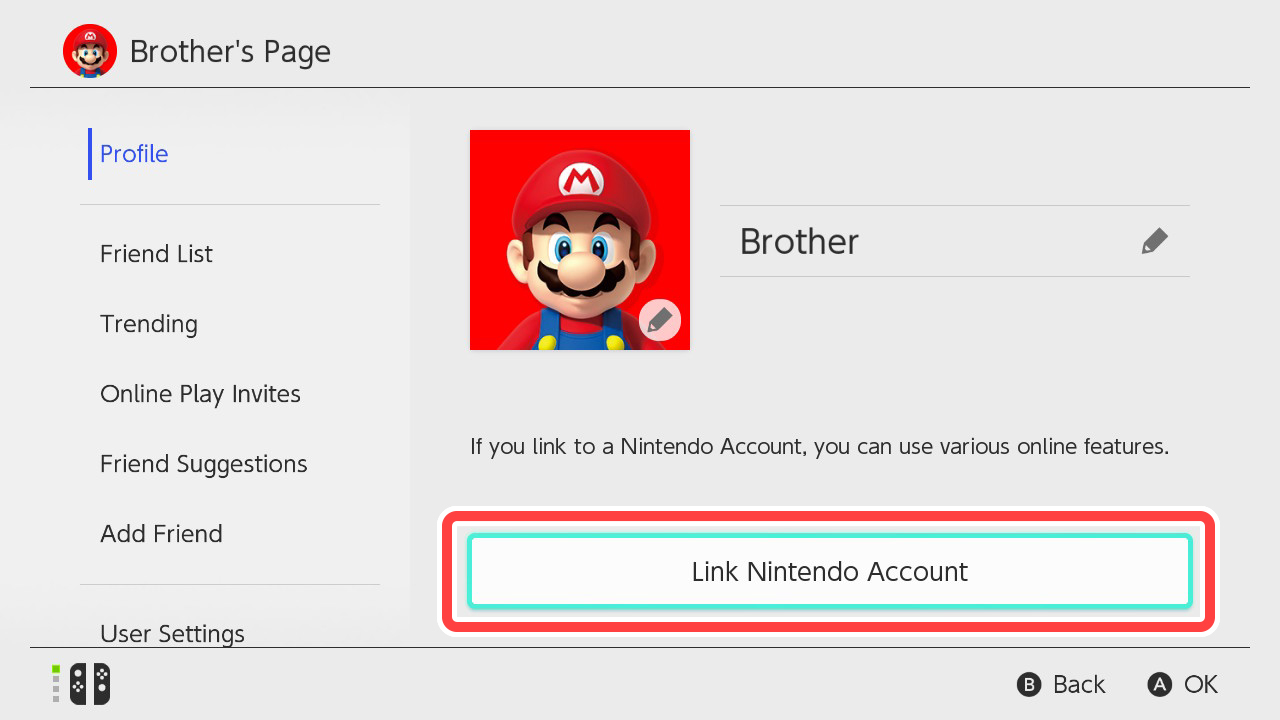
After the basic setup, you’ll need to create a user profile on your Switch. This device profile is separate from a Nintendo Account—at least for now. To unlock the eShop and other online features, you’ll need to link this profile to a Nintendo Account. Think of it as pairing your Switch identity with your official Nintendo passport.
From Nintendo
Step 3: Setting Up Your Nintendo Account
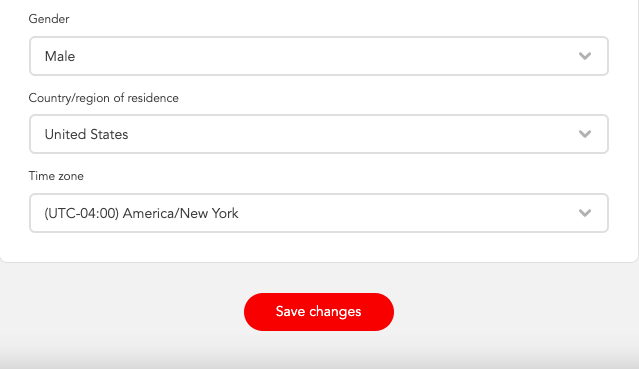
If you don’t already have one, head over to the Nintendo Account creation page. Here’s the important part: when asked to choose your region, do not select the Philippines, since it’s not supported.
From Nintendo | Courtesy JR Carag
Pick The Americas again, and you’ll notice it asks for a time zone—this is just to narrow down which part of the region you’re in, not to lock your device to that clock forever. Once the account is created, you can manually set your Switch’s clock back to local time if you prefer.
Step 4: Accessing the eShop
From Nintendo
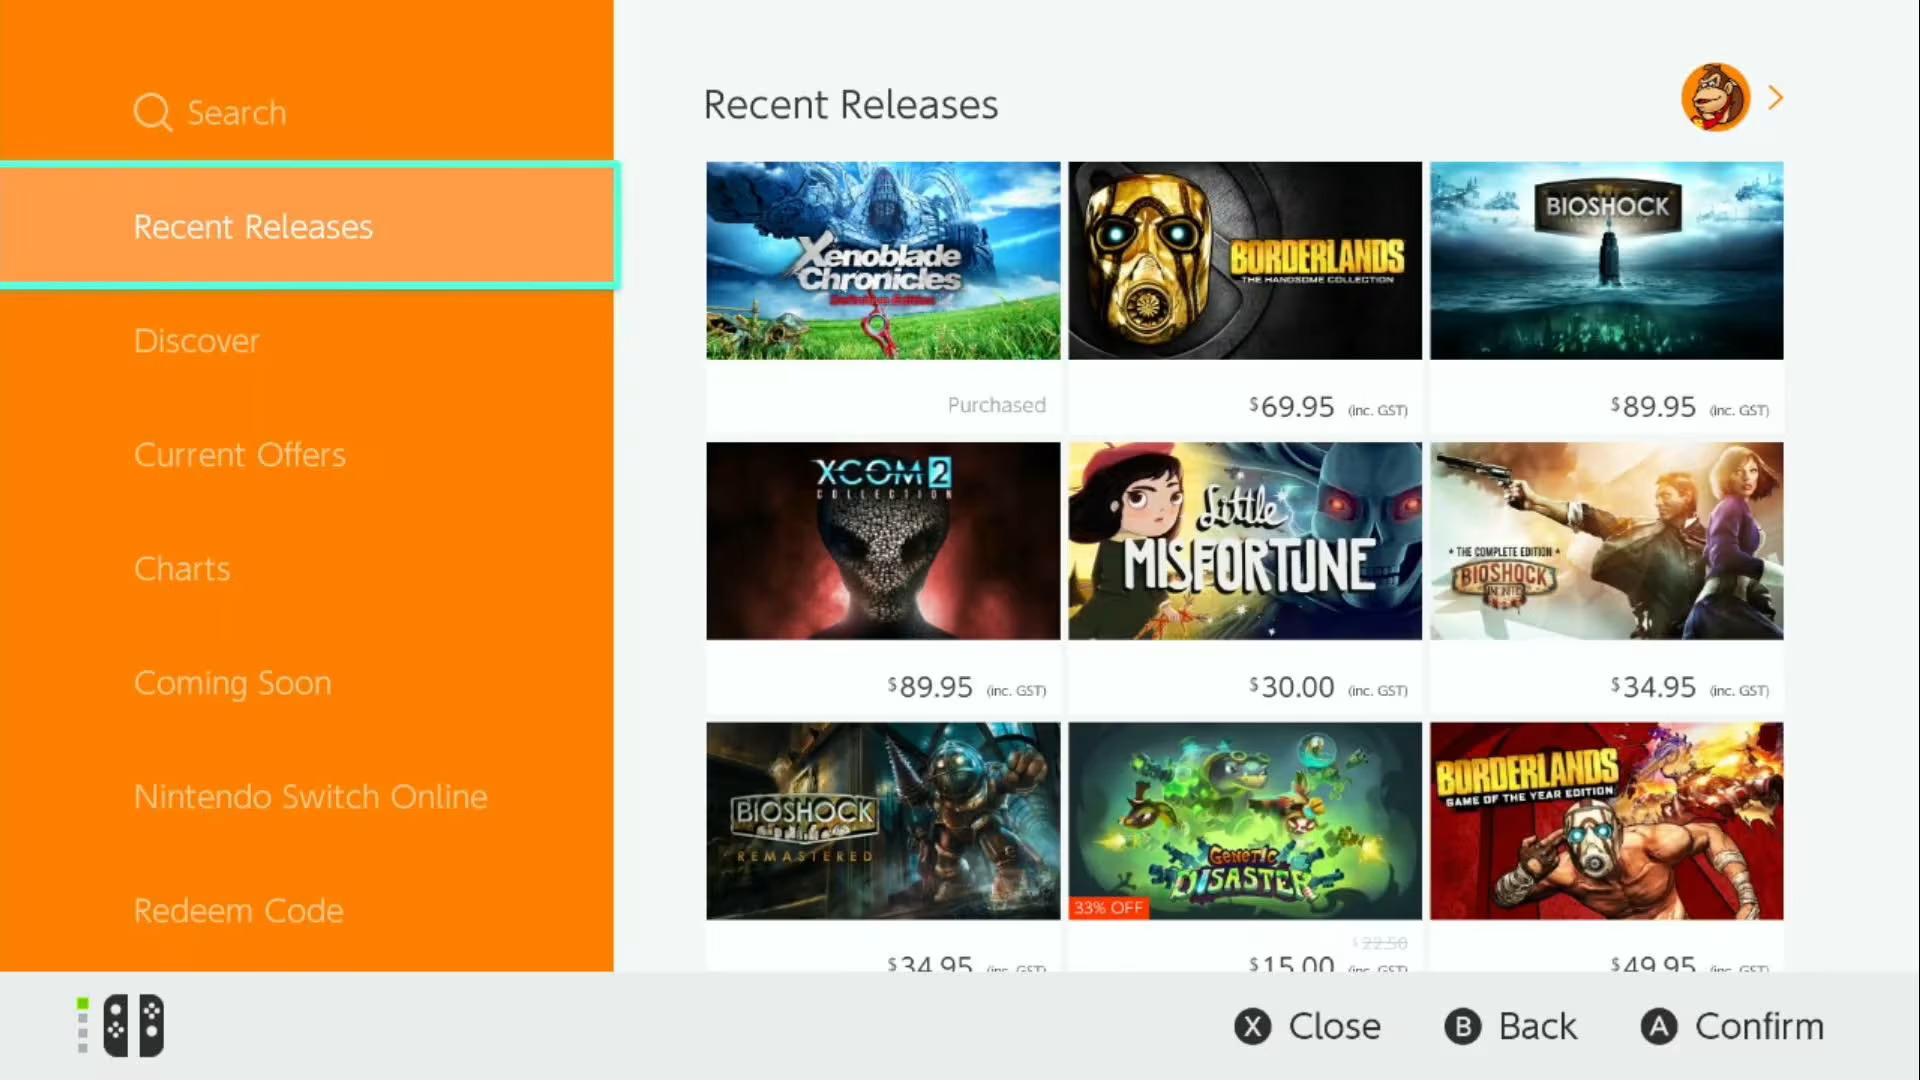
Now that your Switch profile is linked to a Nintendo Account set in the Americas, the Nintendo eShop is officially unlocked for you. From here, browsing, searching, and purchasing digital games work just like any other online store. Add the game to your cart, check out, and… there might be a chance you're unable to pay for that digital copy with the usual methods.
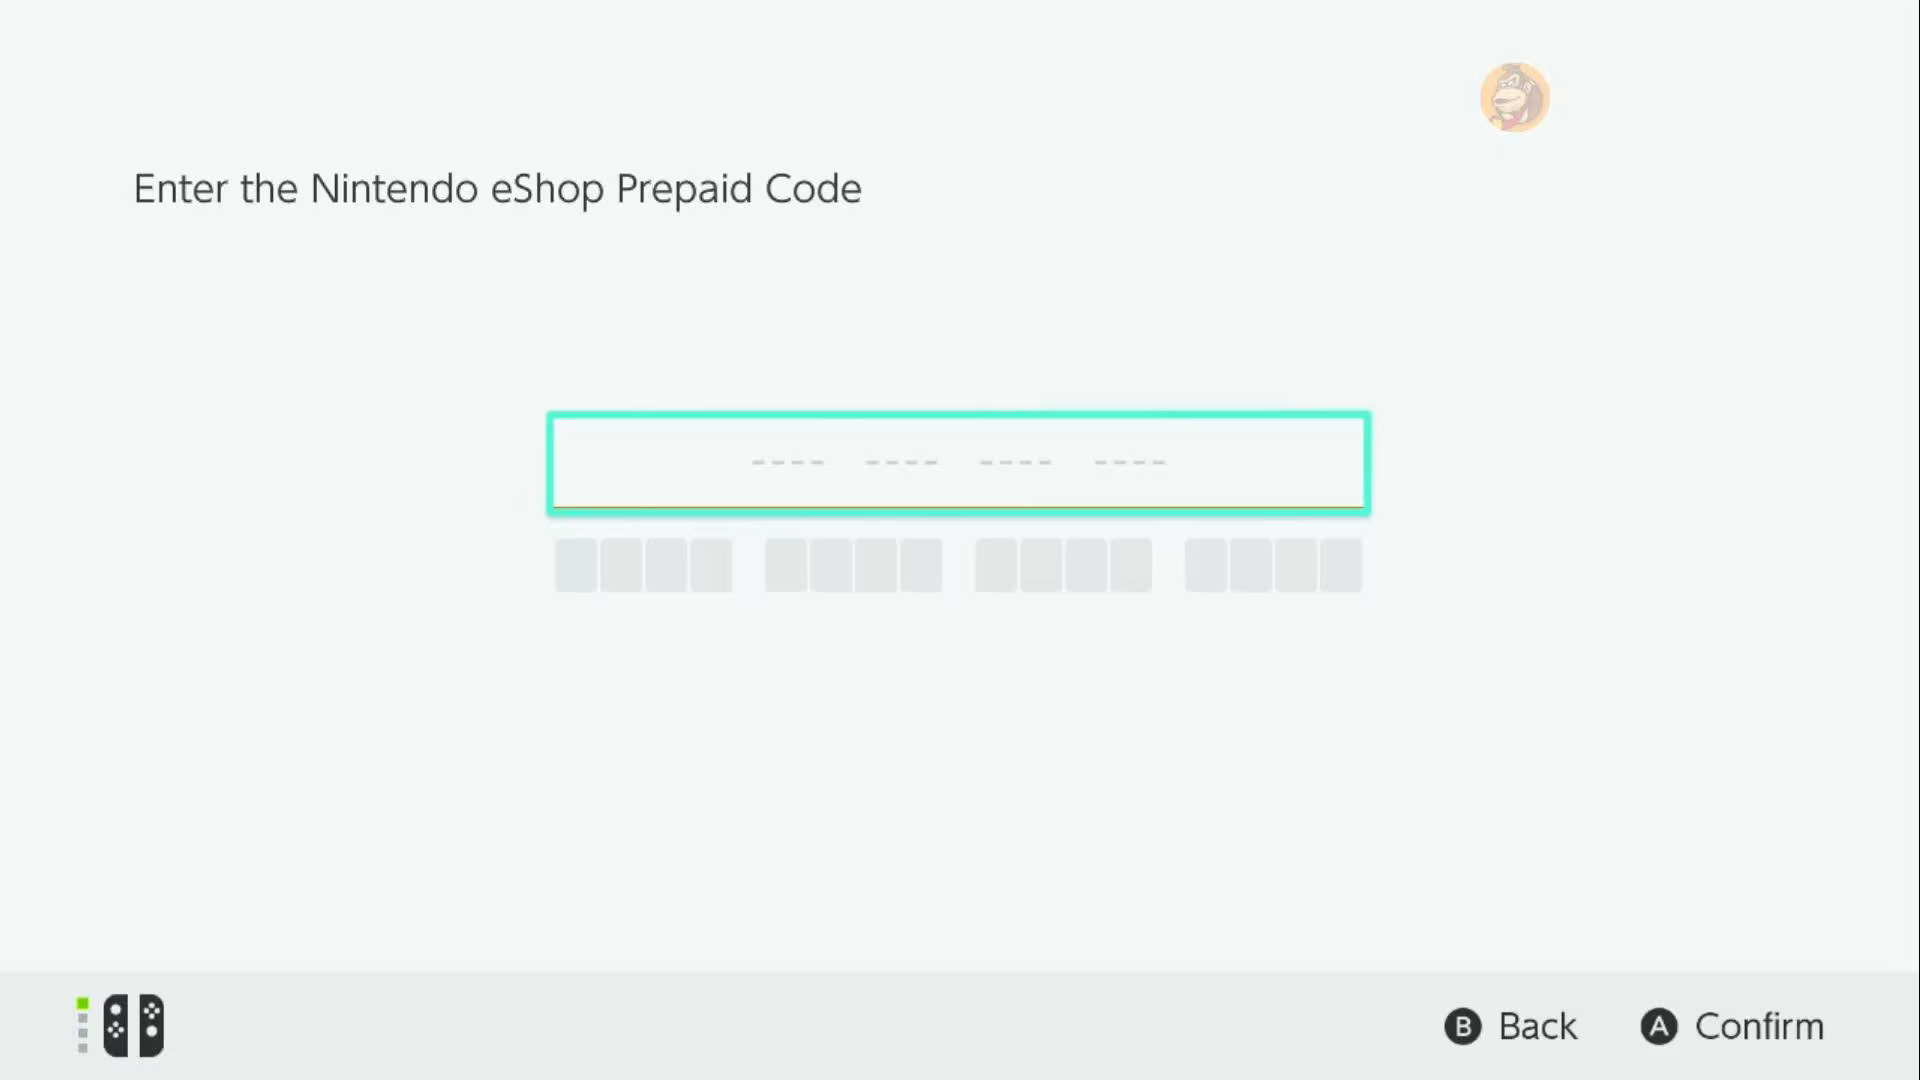
Step 5: Payment Methods for the eShop
From Nintendo
Here’s where things can get a little tricky. Since your account is tied to the Americas, the eShop will expect U.S.-based payment methods. If you try to use a local Philippine credit or debit card, there’s a good chance it won’t work. The easiest workaround is to purchase Nintendo eShop gift cards from trusted online stores or resellers that offer U.S. codes—just make sure the codes match your eShop region. With this, topping up your account and buying games becomes straightforward.
Level Up Your Gaming with Next Upgrade Shop
Once you’ve sorted out your Nintendo Account, it’s all smooth sailing from there. For the best way to experience those digital titles, check out the Nintendo Switch 2 available at the Next Upgrade Shop!

AUTHOR
JR Carag
Content Writer
JR is a Content Writer for Next Upgrade Shop, favoring listicles about Technology and Gaming. His main passion is writing his fiction web novel, which he’s been publishing for a subscription-based website since 2021. As a former law student, JR also does freelance legal writing and research when he has time. He enjoys watching video essays about various topics on YouTube, and fantasy booking storylines for his favorite professional wrestling promotions.
